To call attention to type labels on your map, consider placing them in a custom call-out box.
But not just any box will do. Place labels in boxes painted with Adobe Illustrator’s visual effects to help them stand out, or above, other details on the map.
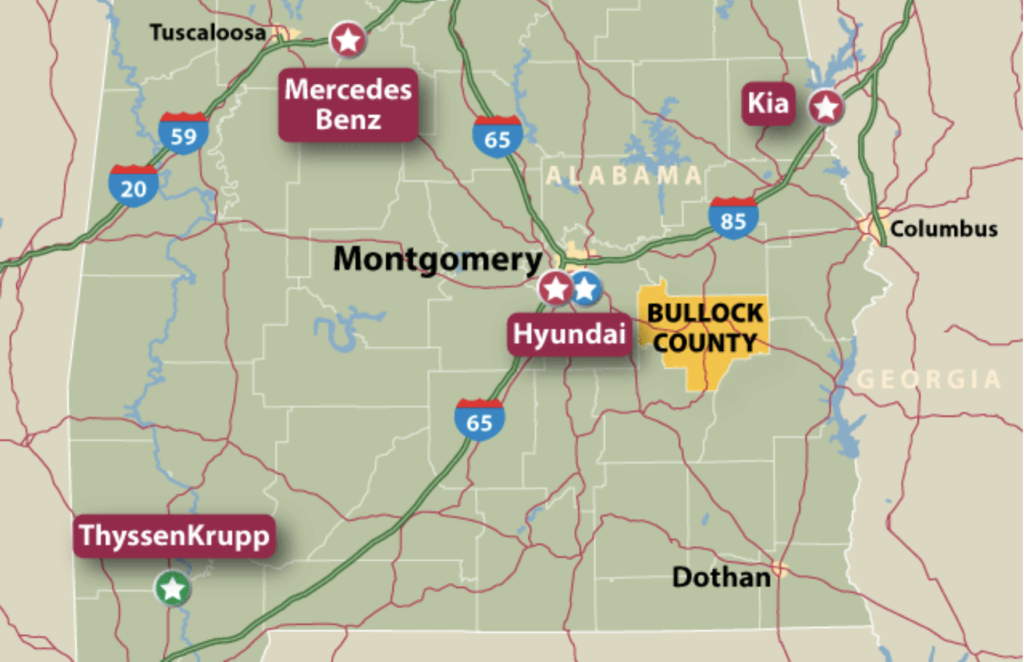
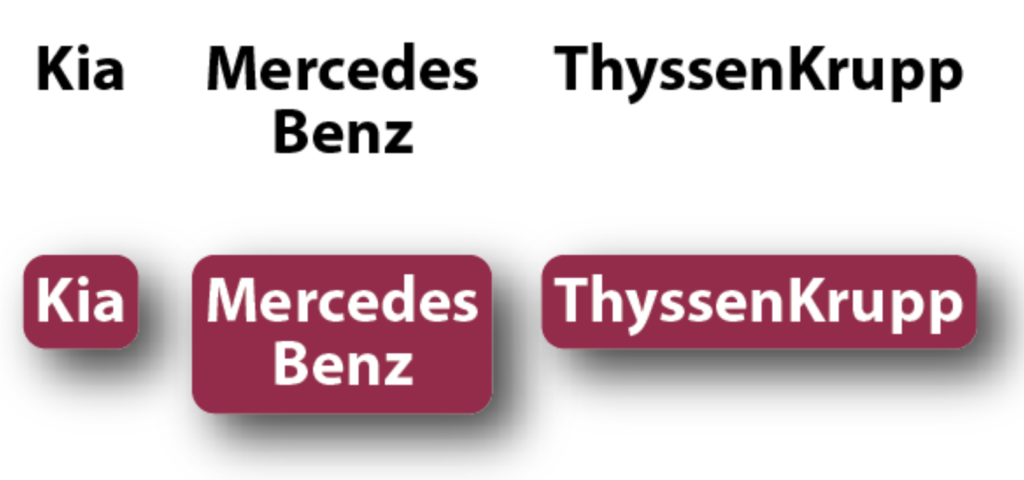
For this economic development map, we created a call-out box graphic style that automatically sized itself to the height and width of each text label.
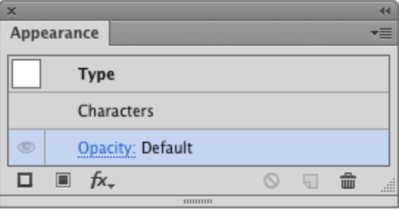
Let’s start by typing a label. Next, click the Selection tool, which automatically selects the type as a graphic object. If you want to give the type in a different color than the default black, open the Color panel, click on the Fill icon, and choose a color. We chose white as the color of the label’s characters.
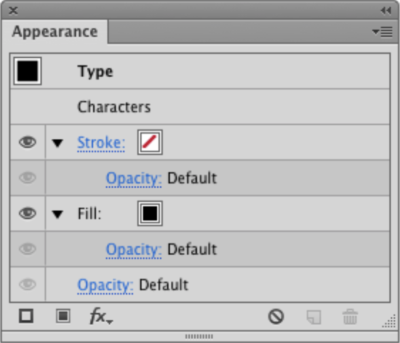
Now you’re ready to box the label. With the label object still selected, open the Appearance panel. From the panel menu, select Add New Fill. Click the Characters attribute in the panel and drag it to the top of the panel. This adjusts the visual hierarchy of the label so that the call-out box you create will appear under the label characters.
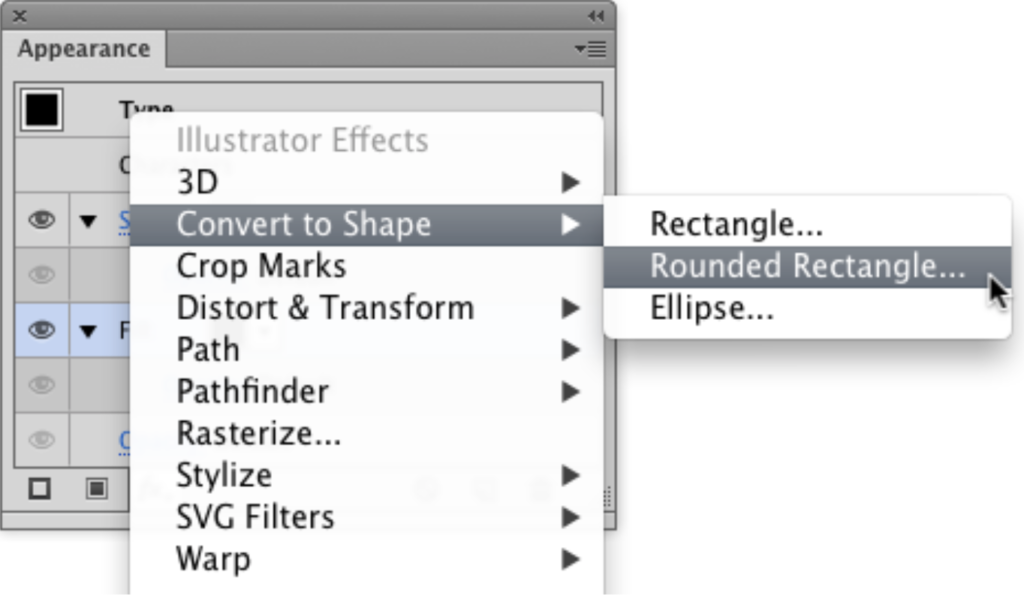
Next, click the Fill attribute in the Appearance panel and then click the fx icon at the bottom of the panel. In the pop-up menu, select Convert to Shape > Rounded Rectangle.
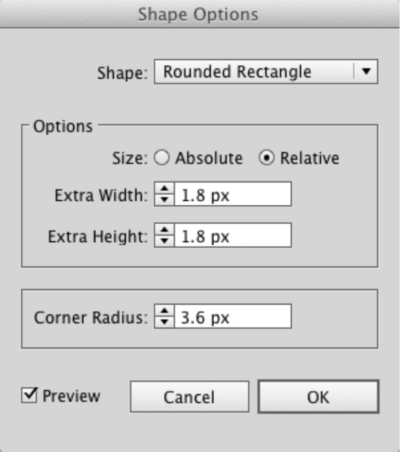
In the Shape Options dialog, click the Preview button. You’ll probably want to change the default values in the dialog. We kept the Size as Relative but changed Extra Width and Extra Height to 1.8 px and Corner Radius to 3.6 px. Click OK to apply your changes.
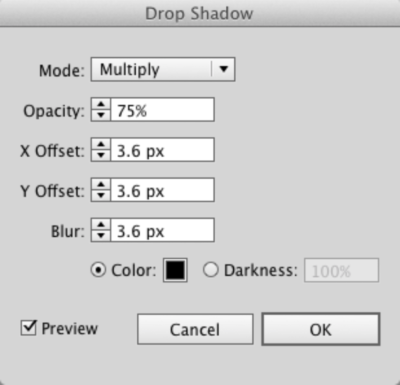
To complete the call-out box, we selected the Fill color and changed it from the default black to a dark red. Then we selected the fx icon again and chose Stylize > Drop Shadow. We changed the X Offset, Y Offset, and Blur values from their default values to 3.6 px.
To apply the visual effects of the call-out box to other labels, you’ll want to make a new Graphic Style that incorporates the effects you just added to the label. First, select the label with the Selection tool. Then open the Graphic Styles panel and at the bottom of the panel click the New Graphic Style icon. You can rename the style by double-clicking the name assigned to it by default (which may be “Graphic Style”) and typing something more meaningful.
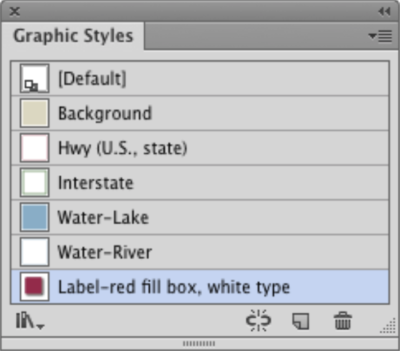
When you apply the new style to another label you’ve typed, the fill of the style will also become the fill of the type characters. To change the character color, double-click the label with the Type tool and pick a color from the Color or Swatches panel.
As you apply the style to other labels, notice how the call-out box adjusts its visual appearance to the length of each label you create. That’s the “live” engineering of Illustrator’s effects.
If you need to change the visual attributes of the call-out box graphic style, open the Graphic Styles panel and select the style you created. Then open the Appearance panel and edit the attributes (such as the drop shadow or the properties of the rounded rectangle shape). Finally, click the panel menu and choose Redefine Graphic Style. Now all labels painted with this style will be automatically reset with the changes you made to the graphic style.
You can find out more about customizing type in the Adobe Illustrator Wow! Book (Peachpit Press).